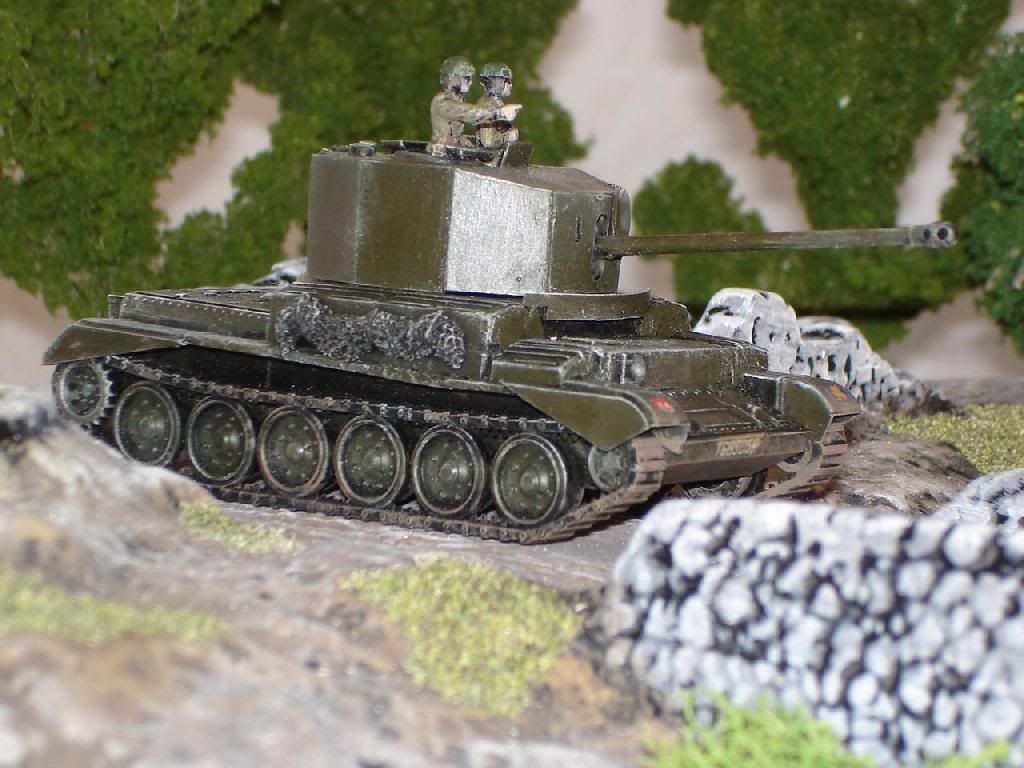
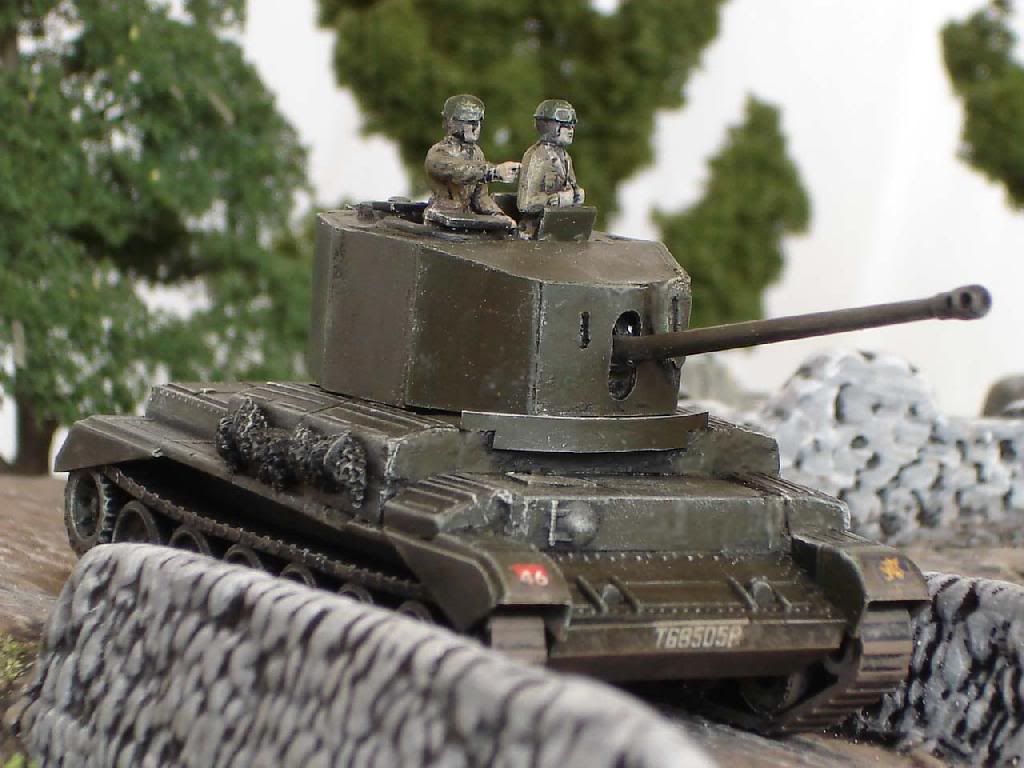
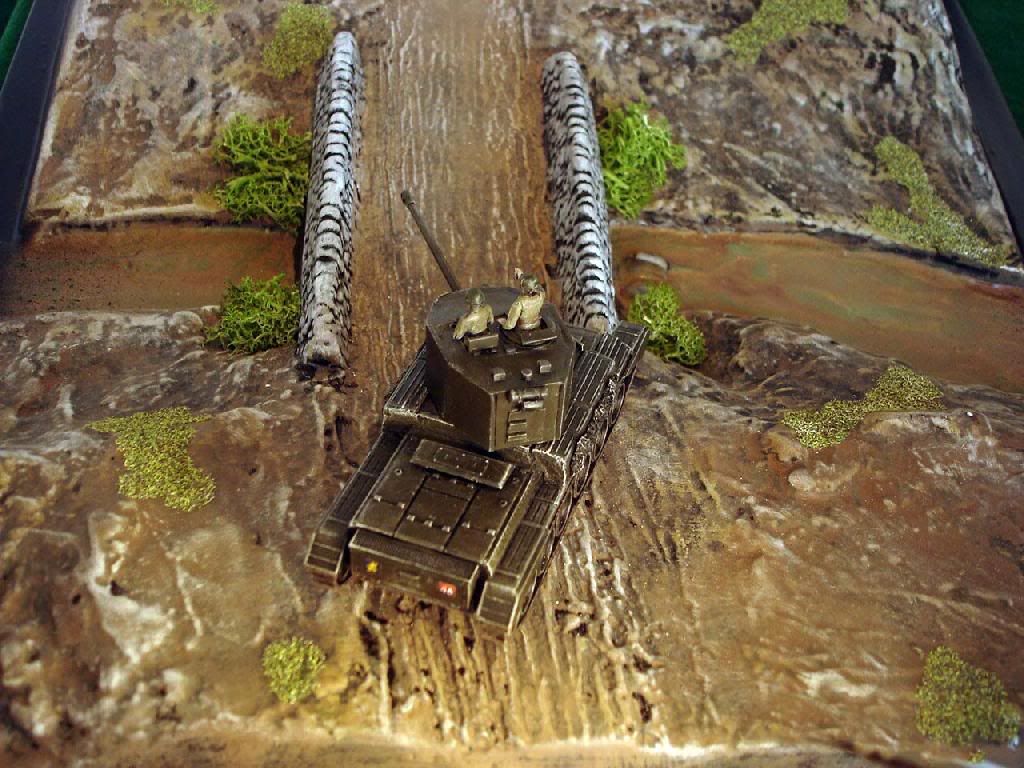
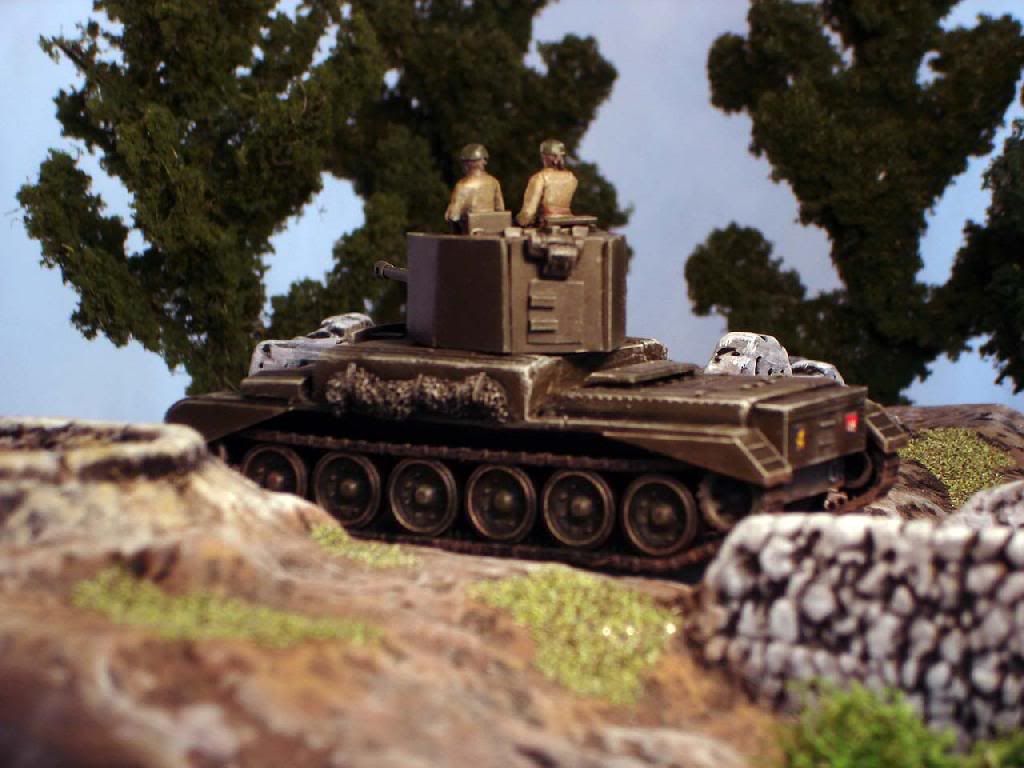
How I made my Challenger
Dated: April 15, 2007.
By Paul Vearncombe
(UK)
(Webmaster: In reply to a question about how the Challenger conversion was made...... )
I'm no expert when it comes to these things - the Challenger was only my second attempt at a conversion job. My first was the SU-76i you'll also find on the Hat pages. I had a lot of fun doing them and just approached both jobs a stage at a time. On the Challenger, in a nutshell...
I started out with one pack of Armourfast Cromwells and as many photos as I could find on the internet - not that many as it turned out. I'm not a rivet-counter, so as long as it looks roughly right that's good enough for me. I also bought a pack of Armourfast Fireflies - you'll need the 17-pounder barrel from one of them, and you still get one Firefly to build up in the normal way.
I decided that the tracks would be the thing that dictated the overall length of the thing, so I started there. The Cromwell has five roadwheels which are grouped as a pair at the front, a pair at the back, and one alone in the middle like this: oo o oo
The Challenger has six roadwheels but they're all evenly spaced like this: oooooo
So that meant cutting up two sets of track assemblies to squeeze in the extra wheel. The way I approached it was to keep the idler and the two front wheels as a unit, the drive wheel and the two back wheels as another unit, and to cut out the middle wheel of the two sets of tracks, with tracks still attached top and bottom, adjust the spacing, and glue the whole shebang together. I hope this is making sense! You then follow the same procedure for the other side, being careful to keep both sets of completed tracks the same length.
Having completed the two track assemblies you can then judge the length of the hull. With a few careful measurements and a bit of cutting you can make an extended lower hull out of the front and back of two Cromwell lower hulls, joining them in the middle. I stuck a few strips of plasticard to the inside to make it good and strong. If you've got your measurements right you can now glue in the tracks just as you would if it were a Cromwell straight from the box.
The upper hull is more complicated but basically you divide it - literally - into three sections. The front and back sections are unchanged and can be glued straight on, remembering to sand off the hull MG since the Challenger did not have one. The middle bit is the extended bit and you do have to do some messing about with plasticard and filler to build a taller centre section. I tried to incorporate as many bits of the Cromwell as I could, including the turret mount. In hindsight it might have been easier to have built a new section out of card. Live and learn. You also need to cut the stowage boxes off the fenders and build up their height with card and putty before reattaching. The Challenger has more stowage boxes than the Cromwell but you can get all you need from the two Cromwell kits. They're also handy for covering up the join in the middle.
Finally - and there's no easy way to do this - you have to scratch-build the octagonal turret. I wish I could tell you the dimensions but I couldn't find any myself! I ended up doing it by eye. My turret base (I've just measured it) is 34mm long by 26mm wide, the side angles are about 25 degrees and the angles between sides and front/rear are about 65 degrees. The sides are 15mm tall, with a bit of a slope down to the front. I bulked out the turret with Plasticine to get the general shape and give the sides something to lean against while the glue dried.
The front of the turret was thin card which I curved into place, remembering to put in the slots for the gun and coaxial MG. Behind that was another piece of card with a slot to take the 17-pounder. If you've got it right the gun should raise and lower. The top of the turret is in sections - the sloping bit at the front and the bit at the back made from card while the centre section came straight from the Cromwell, to include the hatches. They're backwards compared to the Cromwell, for some reason.
And that's it really. Bit of detailing, change the driver's hatch, add a square hatch to the rear of the turret, add a curved shot-deflection guard in front of the turret, and for god's sake find a better commander figure than I did - I must replace him! Happy modelling.
Addendum: I've pressed into service the crew from the Hasegawa Sherman, who are probably Americans now in charge of a British tank, but at least they're better than the horrible creature who was in charge of it before. My figure painting skills aren't up to much, which doesn't help. Credit should also go to the manufacturers of the little bit of scenery - it's Amera's Bridge Assault. See www.amera.co.uk for more. I'm not affiliated, just a fan of them as I am of Hat.
Paul Vearncombe


Many thanks to Mr. Vearncombe.