SturmgeschŘtz III
Dated: November 3, 2006.
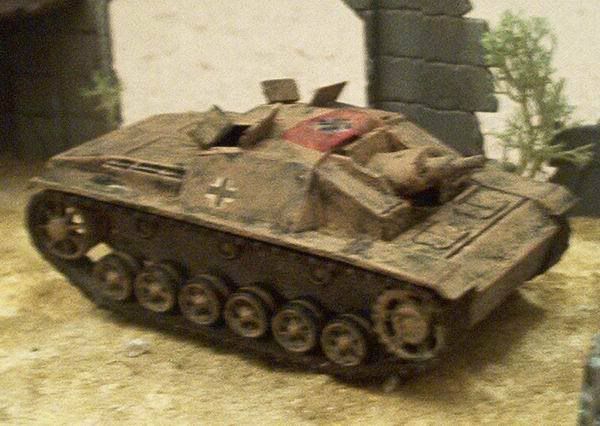
The long barreled Stug was developed from older models equipped with the L/24 gun and with a different upper hull. As I usually collect Afrika Korps models, decided to made one of the only two Stug III that reached Africa, after the third being drop in the water in Greece and failed to be ready in time to follow is mates. Being made of few parts, the Hat kit is a suitable base to modifications and the converted model is solid enough to be either displayed or used in wargames.
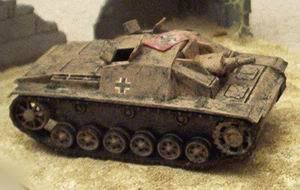
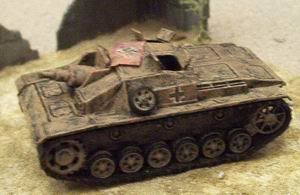
Apart from the gun, earlier Stugs have a multishaped upper hull, much more difficult and expensive to build and with thinner amour, making very different from the Hat kit. Converting the G version to a earlier C model means to remove both sides from the upper hull with a sharp modeling knife and build a six part roof with two square hatches.
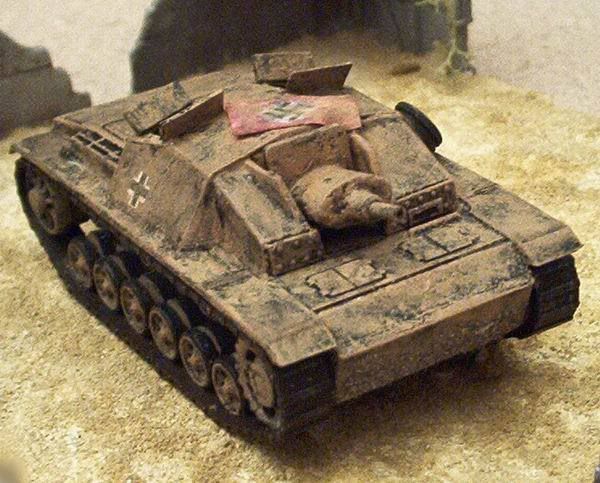
The new roof is higher in the front and lower in the back, but is still possible to use the same part as a support to the new roof, cutting a line in the rear, near the engine bay, and bending the part to suit the correct angle. This operation is very important, because shape the new upper hull together with the removed wings, showing what should be filled to made the new version.
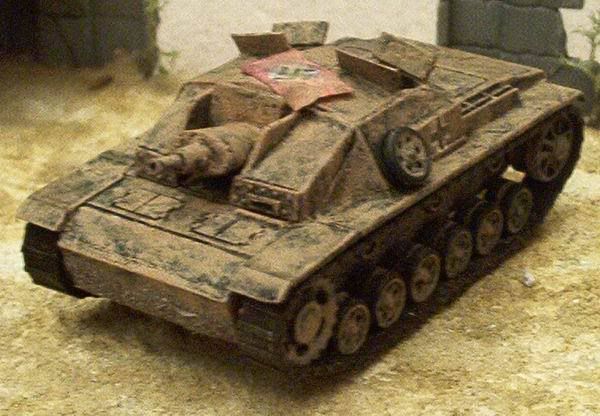
Side panels are made from plastic card and glued in place with instant glue. Each side have a large part, then a smaller part in angle and a third part do close a little gap in the front. All are made and put in place after the larger part is glued and some putty may be needed to finish the job.
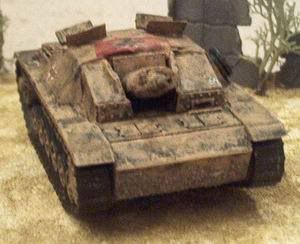
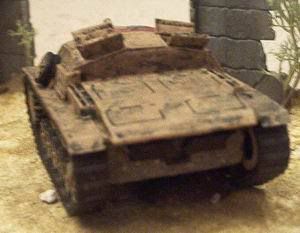
Next step is the six part roof and probably is the most difficult stage. I decided to use the former roof to support the new parts and this is why is very important that the angle is correct and symmetrical. The front parts are glued in the external sides and made a angle upwards until reaching the central part. This may be tricky and a few tests are needed before all six parts can be fitted, but before gluing the back external parts, another task must be done. Early Stugs have near square hatches and no cupola as the G version and, while the right hatch is similar, the left one must be cut to an identical form. I also needed to made a couple hatch doors cutting them from a old plastic part to suit the left hatch.
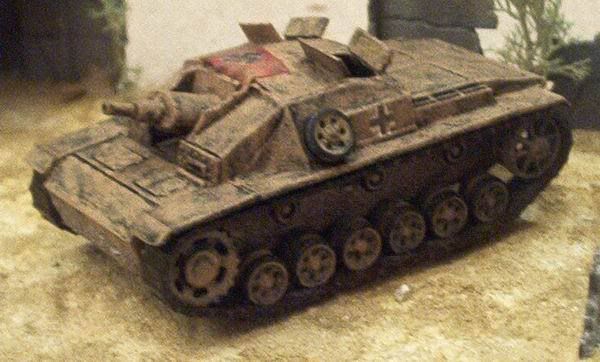
Now, is time to sand the engine covers, because no extra parts in top are needed as they aren't included in earlier Stug models. With all the parts from the upper hull in place, is time to use putty or glue to fill any gaps before painting the whole kit in black as done with the standard Stug III G. The last change is the gun and this can either be easy or difficult according with the available parts remaining from older kits. For those who can find a short L/24 gun or similar, this may be easy because only need to glue it to the shield after cutting it flat.
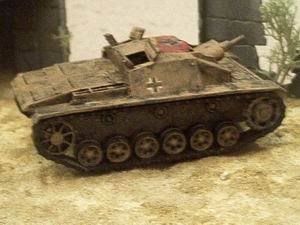
For those who don't have a suitable part, this can be tricky because the gun may need to be made from several parts. The first is where the problems arise because may need to be scratch build from a wooden part or any plastic modeling material. Then a gun with two different diameters can be used or, if unavailable, two more parts need to be glued. The overall finish process is similar to the other Stug, with the exception of having two German crosses from a old kit and no camouflage, leaving the hull yellow and waiting for some stowage.
Cheers
Nuno M. Cabešadas
Portugal
Many thanks to Mr. Nuno M. Cabešadas.